3.03.2015

Field Trip Time!

I went on a field trip today. And it was awesome.

So Dustin is going to school to be a butcher. Usually on Tuesdays they do the kill floor, and that's his favorite part. I took work off to go see him, but they had no animals lined up for the day. Instead we went to Theurer's, a custom meat shop up North. The cool part-- they were processng bison. 

Like I said, it was awesome.

So if you don't want weird gruesome details, you should, er, stop reading.


(I learned a lot of this today:)

Buffalo have two skulls, so they have to be shot. They brought the buffaloes in a stall and shot them with a .38. They have bars over the stall because the buffalo try to jump up a lot. After they're shot, they stuck and bled them, and when that's done they hoisted them up by a hook and chain on a runner. One of the guys has a big scissory thing that cut off the legs (wahooo, this is kinda gross). And somewhere between there and the next station they cut off the head.

The next part (and coolest, in my opinion), was when they took off the hide. The bison were hung back feet up so the guys started at where the legs had been cut off and pretty much they, uh, peeled the hide off. When they got halfway down the back (I think) they attached a hook and chain from a machine that slowly pulled it off as the guys continued to cut. The amazing part was how quickly they did it. I probably just watched this process for a good 15 minutes because I was so intrigued.

Dustin says I'm intrigued easily, but this was top-quality amazement!

After the hides were taken off, they were gutted. As gross at this sounds, they had to dump all the guts into a large cart. The tongues, liver, and other certain organs were set aside, but for the others they just wheeled them to a room and dumped them out. It happened to be right by where I was standing, so I probably looked like an awkward goose when I kept shifting to the side as the guy came over to dump them. Luckily nothing got on me, although we were standing in a giant puddle of blood.

Then there was a big A saw. They cut the beast right in half. It made the bison look like it was made out of butter.

The last part they just went through and the made sure that there was no hair or other bits left. So the guys checked the whole carcass and then sprayed it down with a solution to prevent bacterial growth. Then they pushed the hanging carcass into the meat cooler in the next room (which, by the way, was really cold).


This is the sort of stuff I listen to Dustin tell me about all the time. I've learned a lot since we've started dating. Lots of things... about killing. Yes. I'm okay with it.

And last, but not least, if you're not grossed out by now, here's the head: 


(Some students took some heads home.)


Field trips are awesome.

2.01.2015

It's Called Winning.

It's been a bit over a month since I've moved back to Logan. And oh, it's been swell!

Although my first week of work up here was probably the most stressful thing ever. I mean, I've been working at my job since July, but I switched from working in a house with two handicap guys to the day program up here, which has around ten clients. All I remember from the first day was mass confusion, lots of noise, and me wanting to silently back out the front doors and never return. Then on my third day one of the clients caught me off guard and headbutted my face. In front of all my coworkers and boss. I was surprised I didn't get a concussion.

But I recovered. Haha. And even though I'm still learning, it's been great.


One of the best things of moving this time, though? Definitely living away from home and not being a student. Every single time I've moved up here in the past it's because I was going to school. But this time, no.

Oh, the glory!

No homework, no late night studying, no stressing of getting to classes, no buying textbooks, blah blah blah... I just work. I come home from work. I see my boyfriend. Then when he goes to work I read. Catch up on Downton Abbey. Go to a hockey game. Or whatever the heck I want.

I love it.

Also, let me tell you how nice it's been to not have to wait two or three weeks in between seeing my boyfriend. I get to see my man every single day.
#winning


12.28.2014

I Almost Want the Title to Be Longer Than the Actual Post

I got to talk to my favorite brother this week.
I haven't seen him for over two years since I left December 2012 and he left December of last year. But in one more year I can see this annoyingly nerdy yet super awesome brother of mine. Hooray!

Skyping on Christmas.


Also, I'm moving this week.
Yep.
Moving.
Finally.
Back to Logan I go!


I'm excited.


That's my update for now.

11.27.2014

*Excited Noises*

Here I am, starting off a grave shift at work on Thanksgiving (don't worry, I wanted to work). I just realized that it's technically been six months to the day that I left the mission field (although I didn't get released until two weeks later because of traveling). I honestly can't believe half a year has gone by. I really, really can't.

When I first came home I ended up becoming depressed for a bit. I don't think I realized it at the time, or at least I wouldn't admit it, but it was harder to deal with than I thought. Coming off a spiritual high and back down to reality isn't something that can be explained, only experienced.

But no matter! As you know, I got a meaningful job that I love with coworkers that I also love to pieces. I finally saved up enough and got a kick ass camera, which, for some reason, is one of my proudest accomplishments. I've lost lots of my mission weight (booyah!). Oh, the list goes on.

I tried to move to Logan in July and everything kind of fell apart. However, when I visited Logan over Halloween I had a really clear feeling that it was time to move back up. I started looking for apartments. I talked to my work office about transferring. And then I met a guy. And all of it started working out so perfectly, so wonderfully. I found an apartment. I got a position up in Logan. And I got the guy. 

MY GOODNESS I LOVE MY LIFE RIGHT NOW.

This is honestly the happiest I've been, which is saying something because I'm usually quite cheerful. And another awesome part? Today is my favorite holiday! Happy Thanksgiving, everyone!

New & Old.


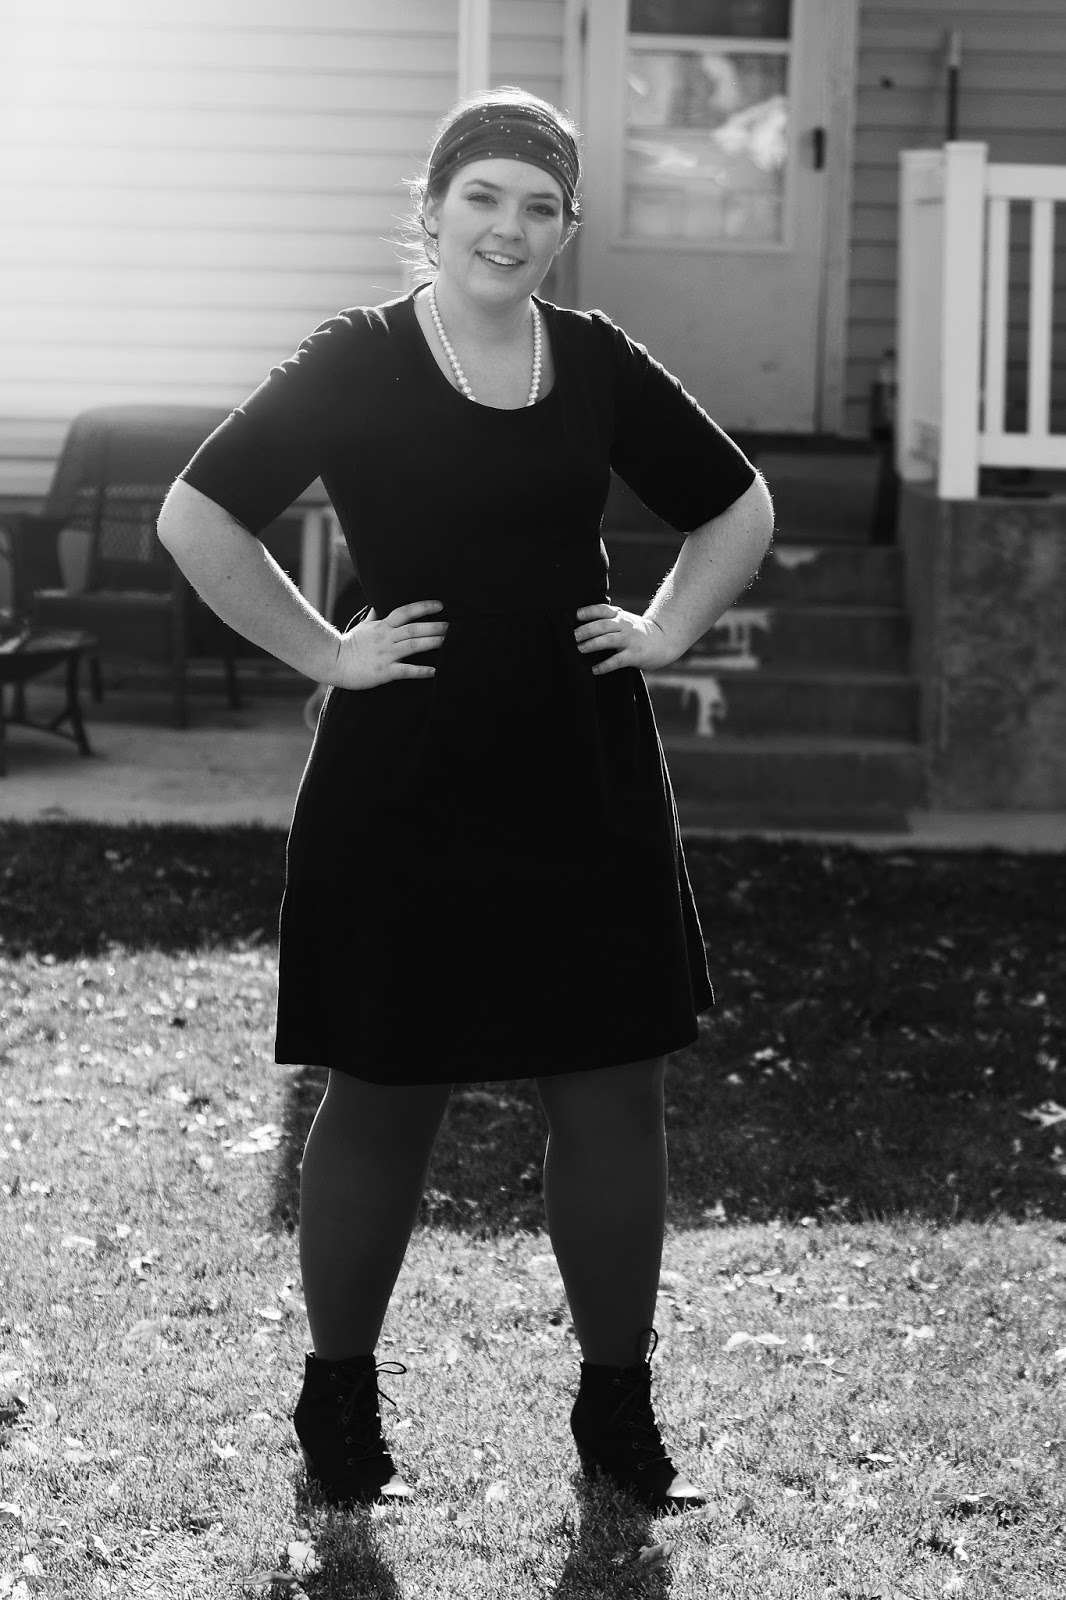
Obligatory awesome photo of myself,

Okay, maybe it's not so obligatory...


11.19.2014

Doctor Who Weeping Angel Costume Tutorial


Okay. This post is for all those awesome Doctor Who fans who need any help with making a Weeping Angel costume. This project was not easy and was very time consuming. That said, it was totally worth it in the end! 

I tried to keep the cost of the materials to a minimum (which both did and didn't work, haha) and I also looked for materials that didn't weigh very much, since I didn't want the wings to weigh a ton.

So here we go!

The Wings

Materials:

- Butcher paper
- Large piece of flat, corrugated cardboard (my dad works in a cardboard factory, so I was able to get this super easy and for free)
- Craft foam (I bought several sheets of both 3 mm and 5 mm thick from Hobby Lobby)
- Foam core board
- Acrylic paint
- Tacky glue (just what I had and it worked! I didn't want to weigh it down with lots of hot glue)
- Paint & foam brushes
- Thick wire (my dad dismantled a tomato wire cage and it worked beautifully)
- Small zip ties (you can get these at a dollar store)
- 2 lashing straps (I got them at Walmart for about $2 each)


I started with the wings because they seemed like they would be the hardest. And they were. It took me about a couple hours a day for three weeks to make them.

I first started by referencing the wonderful source material of Doctor Who. I pretty much watched any and all episodes involving the Weeping Angels and screenshot a lot of images. Since I decided to start with the back of the wings (the feather pattern is simpler), this was my best reference:


I grabbed a large piece of butcher paper (we have a whole roll of it at home) and sketched out the basic shape and design of the wings. I kept checking the proportions to make sure that they weren't too big or too small. Then I cut it out to use as a stencil.

Feet for size reference...


Next I traced it onto the cardboard and cut it out.
I purposely left the wings attached to the middle because I had NO clue what sort of attachment I was going to use to hold on the wings.

I flipped over the stencil and cut out the other side. I should've paid more attention to the symmetry of the wings to the fold down the center of the cardboard, because it ended up being slightly lopsided. However, it ended up not being a big deal.


Next came making the feathers! Most of the feathers were used with the 3 mm foam because it was much easier to work with than the 5 mm. I cut out the feathers and laid them out on the cardboard wings to make sure everything fit/looked good. Then I used a box cutter to put lines down the foam and cut notches to make the feathers look more real.

I glued the feathers on with Tacky Glue, starting with the inside feathers and overlapping towards the outside.


None of the craft foam I could find in stores was big enough to create the top part of the wings. I ended up getting some foam core board, which was perfect! I reused the stencil from earlier to match the curvature at the top.  I cut out a basic shape then laid it on the feathers. Then I used a pencil to mark where I needed to cut/shape it more.


Once I glued on all the feathers and the top piece of foam core, I just left it to dry overnight. Then I painted it with the medium color of gray I got. I didn't take pictures of the painting process, but I used the dark paint to create shadows and the lighter paint to create highlights, especially on the edges and tips of the feathers. I used really erratic brush strokes to make it seem more... natural? It ended up looking fabulous.

The gluing is done!
Once it dried I painted the base coat of paint.

So I forgot to mention, but since the foam core was lying on top of piled up foam feathers, I glued a strip of foam onto the cardboard so that it laid down more naturally. If you look at the picture, you can see the cardboard base, the strip of foam and then the foam core (the wings are upside down).

Once the back of the wings were complete, I flipped them over and did the front! The feather pattern was different, but it was no big deal. I used foam core for the top piece on the front of the wings, too.


By the way, I painted the cardboard before gluing on the wings just so no white would show through.


When the painting was all said and done, I hit a road block. I had no idea how to attach the wings to the straps so that I could actually wear them. I needed some support in the wings but I didn't want tons of wire, because then they would be too heavy.

We took an old tomato cage and my dad clipped off the straight wires. We used two wires-- one shaped to the top curves of the wings and the other went just straight through. I honestly should've done this WAY before this point, but hey, we're all dumb sometimes.

Using a knife, we separated the layers of the wings and fit the wires inside (see, this should have been done earlier). My dad used a drill to put holes through the wings so that we could attach the wires with zip ties. The reason we did this is because zip ties are really strong and they would for sure hold the wires in place.

One of the wires went through the front portion of the wings, the other through the back portion. My dad and I figured this would help strengthen it even more.

Fun fun! Stuffing wires into the foam was a wee bit
annoying. 


When my dad drilled the holes I fit the zip ties around the wires. It was a bit tricky, but it worked!

I definitely should've done this earlier, because now my once-beautiful wings looked not-so-great. However, the angels have yet another layer on the front of the wings, so I was planning on covering the zip ties with more foam core!


I apologize right now. I didn't take pictures of the next couple steps, so I will try to explain the best I can.

If you didn't notice, I had an excess of cardboard in the middle. We folded it down and it so that the center of the wings would have even more strength. Here's a sort of diagram thingy to show how we folded it.

At this point we already had the wires running through the wings. This was
just the best picture I had to use. 


We flipped over the wings to the back and drilled holes to attach the lashing straps. It was important that we didn't tie the zip ties too tight, or else the straps wouldn't be able to move. We also made sure the zip ties went around the wire for extra strength.

After we attached the lashing straps, I glued a piece of fabric that loosely hung on the back panel. This was to hide the straps and to help blend in with the dress.


The Dress

Materials:

- King or queen-sized gray sheet
- A pattern with the top close to the Weeping Angel's dress
- Fabric medium (Hobby Lobby, about $6)
- Acrylic paint
- A mom who can sew


If you know me, you know I can't sew. Creating clothing is NOT my forte. So, this ended up being my mom's project. We just went to a fabric store and found a pattern with the neckline that the Angels have on their dresses. I also looked for a pattern with sleeves, because I wanted to stay modest and not show my shoulders.

My mom says the dress was super easy to show. She used the pattern for the top and used the rest of the fabric for the body of the dress. My mom sewed some darts around the waist to create the illusion of folds. She also made a belt out of the same fabric and elastic and velcrow. This was so I could gather up the dress however I wanted around the waist.

On the back of the dress my mom sewed in a panel of hanging fabric to drape over the wings to hide them even more.

Here's where I come in:

I painted the dress! I used the same process for painting as on the wings.  All I did was use the same colors of fabric paint from the wings and just mixed it with fabric medium (this way it's softer and essentially becomes fabric paint). The bottle of fabric  medium cost around $6.00, but a little goes a LONG way.

Literally the only photo I took of the process...
sorry.


The Gloves

Materials:

- Pair of tights (I got thick tights, about $6 at Walmart)
- Acrylic paint & fabric medium
- Stone effect spray paint ($10, Hobby Lobby)
- Fake nails (dollar store!)
- Clear nail polish

I didn't take pictures AT ALL this time around. However, I pretty much did step-by-step of what this lovely woman did for her gloves. Seriously, her way is perfect.

Pretty much just cut out the crotch, turn the tights inside out, put the tights on your arm, place pins where your fingers are, and cut and sew. Use the clear nail polish for any runs that show up to stop them from going too far.

I had a bit of trouble with sewing (surprise, surprise), so I had to improvise and sew the thumbs as a separate piece, then attach them to the gloves. I flipped them inside out, glued the fake nails on with superglue and painted the gloves.

I personally wouldn't paint the gloves with acrylic and fabric medium. It made the gloves less stretchy, and I didn't like that. After I painted them, I decided to spray them with some stone effect spray paint. I would much rather have done that in the first place.


If you're wondering...

The wig. 

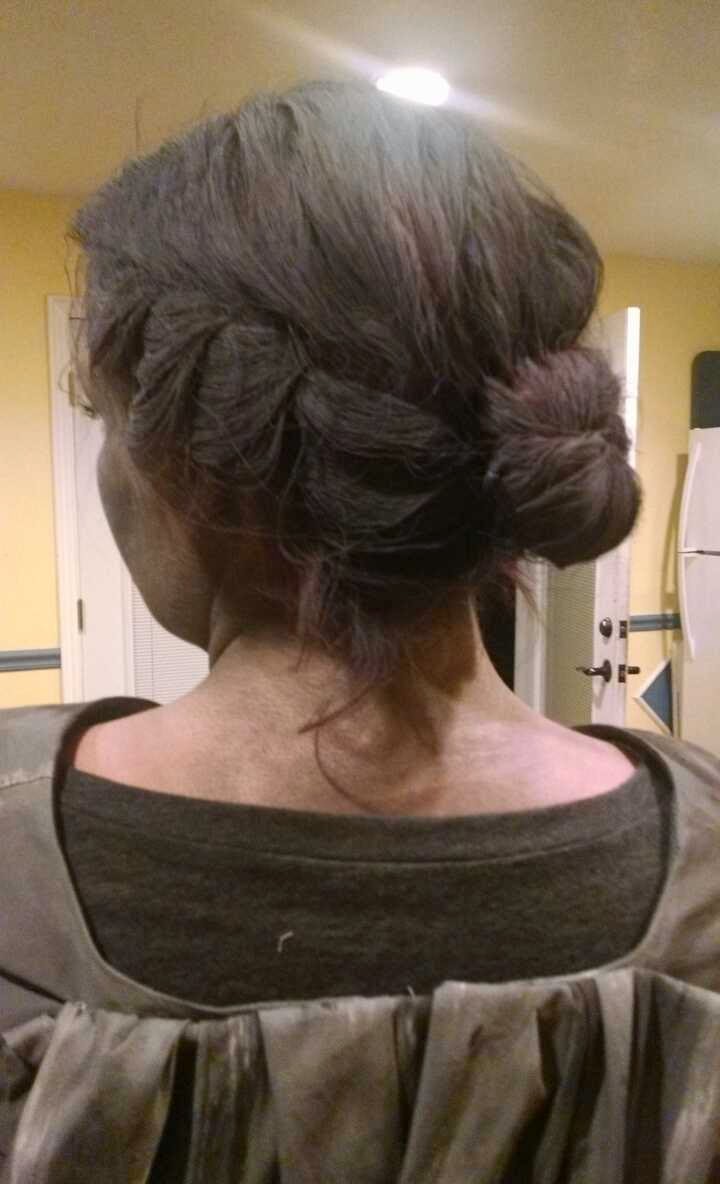
I didn't make one. I ran out of time and patience, but my hair is long and my sister can do hair. Sooooo she just did my hair and we sprayed it with gray hair spray.


And as for the face, I bought some wonderful face makeup (Starblend face makeup, $11-$13 each, Amazon.com). Seriously, it wasn't cheap, but it was PERFECT. 

I bought one in grey and one in white for blending and
highlighting.


Finally...!


11.02.2014

Young Adulthood (Cue Dramatic Music)

Just a heads up: this was going to be like, three different posts, but I decided against it.

Young Adulthood.

Since most of my audience fits into this category, you understand the struggle. I won't rant on forever about it. Restrain yourself, Sarah!

Young adulthood is such an awkward point in life. It's like, "Oh hey, you're going to be constantly poor, confused about where your life is going, unsure of what's going on right now in your life, and whenever you make a plan it's going to get trampled into oblivion." Along with many, many other things (such as dating, which I don't even care to mention).

And I definitely didn't expect myself to be living back at my parents' house and working where I do. I am quite content with my life currently, but not with the near future of my life. I feel like I came home and put my life on pause. Which is no bueno.

And it's full of crises like this (cue dramatic music):


"Ugh."

"Yes?"

"What am I doing with myself?"

"Do you mean right now? Because you're sitting on the couch watching Sherlock again."

"No, I mean... should I live at home until next fall or move up to Logan in January? Because if I live at home I can save up enough money to travel and buy more camera gear. But then I'd be living at home for over a year..."

"No rent is possibly the greatest thing ever."

"Yes, but the longer I live at home the less I want to go back to school."

"Why?! You love school! Especially USU!"

"Why? Because even if I go to school and finally get a freaking degree what will it do to help? I mean, I'm getting an art degree. An art degree. People who graduate in useful fields can barely find jobs after college, let alone an artist."

"But by then you'll have enough skills to start a career in photography."

"Yes, but I don't even actually know what I want to do with photography. I've always dreamed of working for National Geographic, but let's face it-- that's pretty intense. I don't have a career plan at all. I am hoping that the Lord will help me figure out what I should do with my photo career, but I get all freaked out when I realize I truly don't have any sort of career plan."


(At this point I really did have a nice little freak out. I imagined myself finally graduating from college and being right back to where I am now and working slightly-above-minimum-wage jobs for the rest of my life.)


"Okay, chill. Just figure out a career plan when you go back to school."

"But what IS the point of school? Because I have a full three years left, and by the time I graduate, I will have lots more debt. And will it even be worth it??"

"Will it?"

"Ugh, I don't know."

"What would you do if you didn't ever go back to school?"

"Honestly, I'd probably just keep doing what I am doing."

"So why not finish school?"

"Because going back to school after three years sound crazy tough. I totally think I can do it, I just am not sure it's worth it."

"Well is it?"

And then I honestly spent the next couple days debating with myself whether or not school was worth it. But don't worry, I decided it was. I have always loved school and there's just no way in hell I am not going to graduate college. Especially after already completing three years.

*Deep Thinking*
"'Well, that Will Turner. He's a fine man, too.'
'That is too bold.''Beggin' your pardon, miss. It was not my place.'"


"Wait, did I just quote Pirates of the Caribbean again??"

"Sorry about that..."


And even though I super toned down what my mental state was like this week, it was honestly the perfect week for this to happen. Because this weekend I went up to Logan. And I remembered all the reasons I love school and living in Logan. And I remembered what it's like to be away from home and surrounded by great friends and awesome people (not that I don't have great friends here). And being around those people changed my mind about giving up.

Now let's see when I am going to move back up to Logan...


Gosh, I love Katy.

Both Jenna and I didn't know that the other was doing this.