Okay. This post is for all those awesome
Doctor Who fans who need any help with making a Weeping Angel costume. This project was not easy and was very time consuming. That said, it was totally worth it in the end!
I tried to keep the cost of the materials to a minimum (which both did and didn't work, haha) and I also looked for materials that didn't weigh very much, since I didn't want the wings to weigh a ton.
So here we go!
The Wings
Materials:
- Butcher paper
- Large piece of flat, corrugated cardboard (my dad works in a cardboard factory, so I was able to get this super easy and for free)
- Craft foam (I bought several sheets of both 3 mm and 5 mm thick from Hobby Lobby)
- Foam core board
- Acrylic paint
- Tacky glue (just what I had and it worked! I didn't want to weigh it down with lots of hot glue)
- Paint & foam brushes
- Thick wire (my dad dismantled a tomato wire cage and it worked beautifully)
- Small zip ties (you can get these at a dollar store)
- 2 lashing straps (I got them at Walmart for about $2 each)
I started with the wings because they seemed like they would be the hardest. And they were. It took me about a couple hours a day for three weeks to make them.
I first started by referencing the wonderful source material of
Doctor Who. I pretty much watched any and all episodes involving the Weeping Angels and screenshot a lot of images. Since I decided to start with the back of the wings (the feather pattern is simpler), this was my best reference:
I grabbed a large piece of butcher paper (we have a whole roll of it at home) and sketched out the basic shape and design of the wings. I kept checking the proportions to make sure that they weren't too big or too small. Then I cut it out to use as a stencil.
 |
| Feet for size reference... |
Next I traced it onto the cardboard and cut it out.
I purposely left the wings attached to the middle because I had NO clue what sort of attachment I was going to use to hold on the wings.
I flipped over the stencil and cut out the other side. I should've paid more attention to the symmetry of the wings to the fold down the center of the cardboard, because it ended up being slightly lopsided. However, it ended up not being a big deal.
Next came making the feathers! Most of the feathers were used with the 3 mm foam because it was much easier to work with than the 5 mm. I cut out the feathers and laid them out on the cardboard wings to make sure everything fit/looked good. Then I used a box cutter to put lines down the foam and cut notches to make the feathers look more real.
I glued the feathers on with Tacky Glue, starting with the inside feathers and overlapping towards the outside.
None of the craft foam I could find in stores was big enough to create the top part of the wings. I ended up getting some foam core board, which was perfect! I reused the stencil from earlier to match the curvature at the top. I cut out a basic shape then laid it on the feathers. Then I used a pencil to mark where I needed to cut/shape it more.
Once I glued on all the feathers and the top piece of foam core, I just left it to dry overnight. Then I painted it with the medium color of gray I got. I didn't take pictures of the painting process, but I used the dark paint to create shadows and the lighter paint to create highlights, especially on the edges and tips of the feathers. I used really erratic brush strokes to make it seem more... natural? It ended up looking fabulous.
 |
The gluing is done!
Once it dried I painted the base coat of paint. |
So I forgot to mention, but since the foam core was lying on top of piled up foam feathers, I glued a strip of foam onto the cardboard so that it laid down more naturally. If you look at the picture, you can see the cardboard base, the strip of foam and then the foam core (the wings are upside down).
Once the back of the wings were complete, I flipped them over and did the front! The feather pattern was different, but it was no big deal. I used foam core for the top piece on the front of the wings, too.
By the way, I painted the cardboard before gluing on the wings just so no white would show through.
When the painting was all said and done, I hit a road block. I had no idea how to attach the wings to the straps so that I could actually wear them. I needed some support in the wings but I didn't want tons of wire, because then they would be too heavy.
We took an old tomato cage and my dad clipped off the straight wires. We used two wires-- one shaped to the top curves of the wings and the other went just straight through. I honestly should've done this WAY before this point, but hey, we're all dumb sometimes.
Using a knife, we separated the layers of the wings and fit the wires inside (see, this should have been done earlier). My dad used a drill to put holes through the wings so that we could attach the wires with zip ties. The reason we did this is because zip ties are really strong and they would for sure hold the wires in place.
One of the wires went through the front portion of the wings, the other through the back portion. My dad and I figured this would help strengthen it even more.
 |
Fun fun! Stuffing wires into the foam was a wee bit
annoying. |
When my dad drilled the holes I fit the zip ties around the wires. It was a bit tricky, but it worked!
I definitely should've done this earlier, because now my once-beautiful wings looked not-so-great. However, the angels have yet another layer on the front of the wings, so I was planning on covering the zip ties with more foam core!
I apologize right now. I didn't take pictures of the next couple steps, so I will try to explain the best I can.
If you didn't notice, I had an excess of cardboard in the middle. We folded it down and it so that the center of the wings would have even more strength. Here's a sort of diagram thingy to show how we folded it.
 |
At this point we already had the wires running through the wings. This was
just the best picture I had to use. |
We flipped over the wings to the back and drilled holes to attach the lashing straps. It was important that we didn't tie the zip ties too tight, or else the straps wouldn't be able to move. We also made sure the zip ties went around the wire for extra strength.
After we attached the lashing straps, I glued a piece of fabric that loosely hung on the back panel. This was to hide the straps and to help blend in with the dress.

The Dress
Materials:
- King or queen-sized gray sheet
- A pattern with the top close to the Weeping Angel's dress
- Fabric medium (Hobby Lobby, about $6)
- Acrylic paint
- A mom who can sew
If you know me, you know I can't sew. Creating clothing is NOT my forte. So, this ended up being my mom's project. We just went to a fabric store and found a pattern with the neckline that the Angels have on their dresses. I also looked for a pattern with sleeves, because I wanted to stay modest and not show my shoulders.
My mom says the dress was super easy to show. She used the pattern for the top and used the rest of the fabric for the body of the dress. My mom sewed some darts around the waist to create the illusion of folds. She also made a belt out of the same fabric and elastic and velcrow. This was so I could gather up the dress however I wanted around the waist.
On the back of the dress my mom sewed in a panel of hanging fabric to drape over the wings to hide them even more.
Here's where I come in:
I painted the dress! I used the same process for painting as on the wings. All I did was use the same colors of fabric paint from the wings and just mixed it with fabric medium (this way it's softer and essentially becomes fabric paint). The bottle of fabric medium cost around $6.00, but a little goes a LONG way.
 |
Literally the only photo I took of the process...
sorry. |
The Gloves
Materials:
- Pair of tights (I got thick tights, about $6 at Walmart)
- Acrylic paint & fabric medium
- Stone effect spray paint ($10, Hobby Lobby)
- Fake nails (dollar store!)
- Clear nail polish
I didn't take pictures AT ALL this time around. However, I pretty much did step-by-step of what this lovely woman did for her gloves. Seriously, her way is perfect.
Pretty much just cut out the crotch, turn the tights inside out, put the tights on your arm, place pins where your fingers are, and cut and sew. Use the clear nail polish for any runs that show up to stop them from going too far.
I had a bit of trouble with sewing (surprise, surprise), so I had to improvise and sew the thumbs as a separate piece, then attach them to the gloves. I flipped them inside out, glued the fake nails on with superglue and painted the gloves.
I personally wouldn't paint the gloves with acrylic and fabric medium. It made the gloves less stretchy, and I didn't like that. After I painted them, I decided to spray them with some stone effect spray paint. I would much rather have done that in the first place.
If you're wondering...
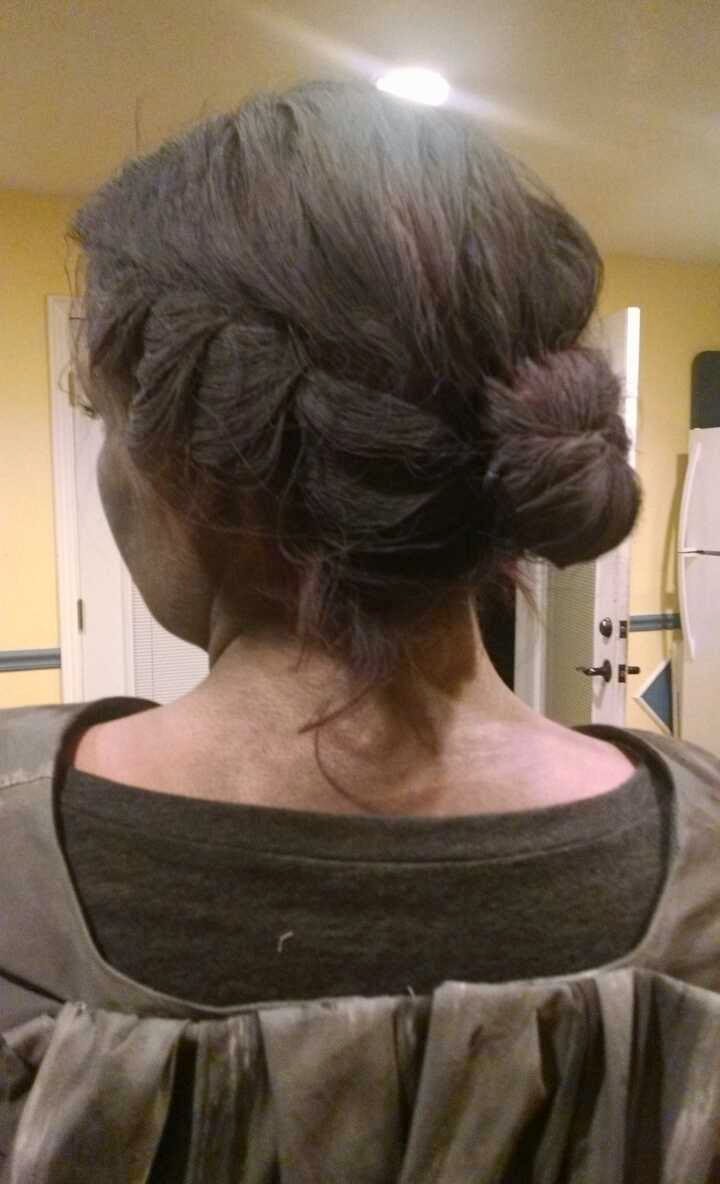
The wig.
I didn't make one. I ran out of time and patience, but my hair is long and my sister can do hair. Sooooo she just did my hair and we sprayed it with gray hair spray.
And as for the face, I bought some wonderful face makeup (Starblend face makeup, $11-$13 each, Amazon.com). Seriously, it wasn't cheap, but it was PERFECT.
 |
I bought one in grey and one in white for blending and
highlighting. |
Finally...!